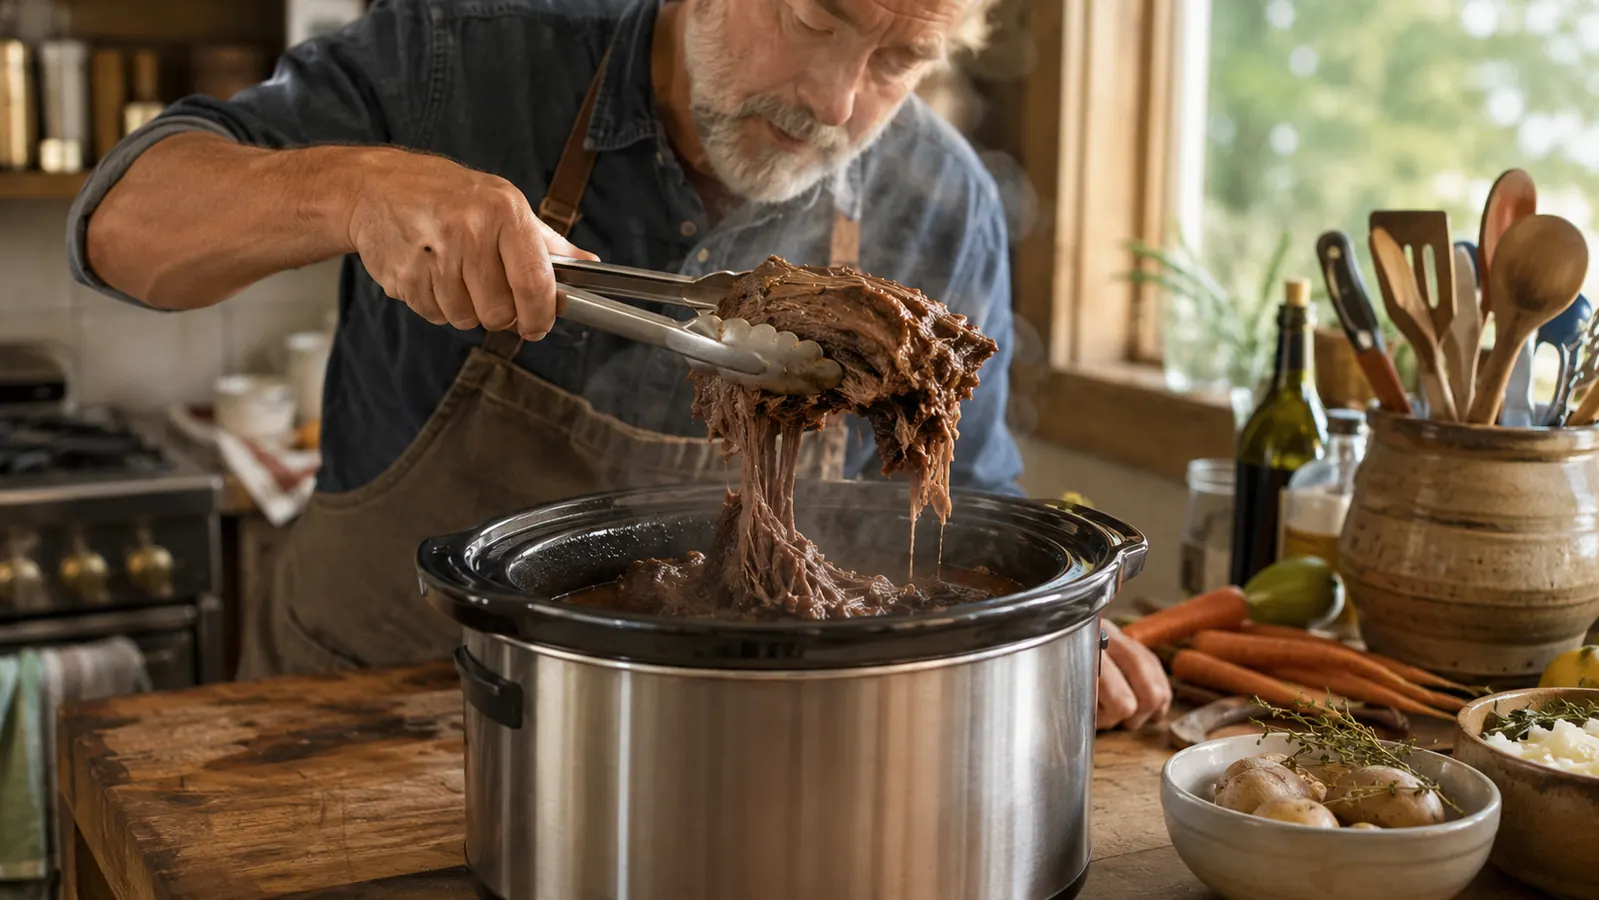
Thirty years behind a flat-top in Toledo diners taught me one thing about a slow cooker: most people blame the meat when the problem is actually how they're using the machine. I hear it all the time, from folks at church, from my daughter, from guys I used to work the line with. They dump a chuck roast in a slow cooker, set it for eight hours, and pull out something that's either dry as shoe leather or falling apart in a watery, flavorless puddle. Neither one of those is tender. Tender is a texture you build on purpose, not something that happens because you left the house.
When Carol and I switched over to the Crock-Pot 7-Quart Manual Slow Cooker a couple years back, I started paying attention to what actually separates a pot roast that shreds with two forks from one that fights you at the table. It isn't luck, and it isn't a fancy recipe. It's five steps I do the same way every single time, in the same order, and I'm going to walk you through all five here, the same way I'd walk a new cook through a braise on the line.
You Need a Cooker That Holds a True Low, Not Just a Warm Setting That Says It Does
Every step below assumes you're working with a real family-size stoneware unit like the Crock-Pot 7-Quart Manual Slow Cooker. It's the one I use for every roast, chili, and pulled pork in my own kitchen, and it's the reason this method works the same way every time.
Amazon Check Today's Price on Amazon →Step 1: Pick a Cut That's Built to Get Tender
Tenderness in a slow cooker doesn't come from a naturally tender cut of meat. It comes from collagen, the connective tissue that runs through tougher, cheaper cuts, slowly breaking down into gelatin over hours of low, steady heat. Chuck roast, brisket, pork shoulder, short ribs, beef bottom round, these are the cuts loaded with the connective tissue that a slow cooker was built to transform. A lean cut like tenderloin or a boneless chicken breast has almost none of that collagen, so eight hours on low doesn't tenderize it, it just dries it out.
I buy a 3 to 4 pound chuck roast most weeks, sometimes a bone-in pork shoulder when I want pulled pork for a crowd. Both fit with room to spare in the Crock-Pot 7-Quart Manual Slow Cooker, which is the whole reason I sized up when I bought this one. A smaller 4-quart crock forces you to trim a roast down or fold it awkwardly to make it fit, and that uneven shape cooks unevenly too.
If a recipe calls for chicken and you don't want dry, stringy results, use thighs instead of breasts. Thighs have enough fat and connective tissue to survive the long cook. I learned this one the hard way making chicken and dumplings for a church potluck years ago, and I haven't reached for a boneless breast in a slow cooker since.
There's a money angle here too, and thirty years of watching a diner's food costs makes me point it out every time. The cuts that turn out best in a slow cooker are almost always the cheapest ones in the case, chuck, shoulder, shank. A butcher near us used to joke that the toughest cuts were the ones the slow cooker was invented to rescue, and after running enough of them through the Crock-Pot 7-Quart Manual Slow Cooker myself, I believe him. You're not settling for a cheaper cut, you're picking the right tool for the cut you already wanted to buy.
Step 2: Sear It First, Don't Skip the Fond
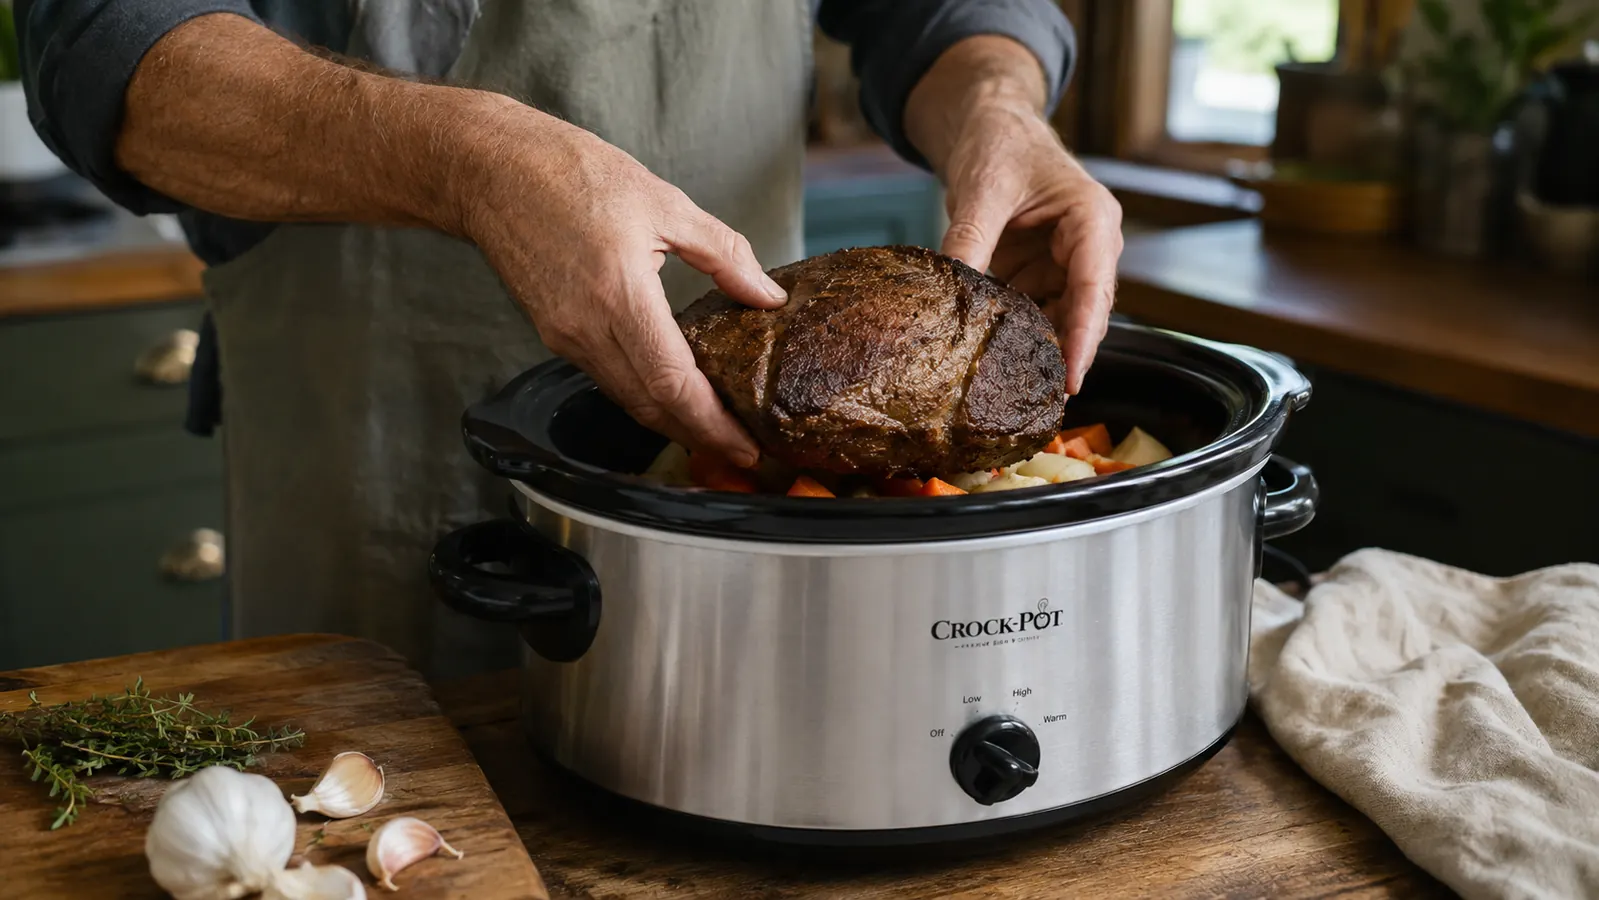
A slow cooker doesn't brown anything. It simmers, and simmering alone leaves a roast tasting flat compared to one that's been seared first. Before the meat ever touches the Crock-Pot 7-Quart Manual Slow Cooker's stoneware, I get a cast iron skillet ripping hot with a little oil and sear the roast on all sides, three or four minutes a side, until it's deeply browned. That browning is the Maillard reaction, the same chemistry that made the crust on every steak I ever plated in a restaurant kitchen.
Don't move the meat around while it sears. Let it sit still so it actually browns instead of steaming in its own juices. Once the roast is out, I deglaze that same skillet with a splash of beef broth or wine, scraping up every browned bit stuck to the pan. That's called fond, and it's pure flavor. That liquid goes straight into the Crock-Pot 7-Quart Manual Slow Cooker with everything else, not down the drain.
This step takes maybe ten minutes and it's the single biggest difference between a pot roast that tastes like something and one that tastes like boiled meat. I know skipping it is tempting on a rushed morning, and I've done it myself on busy weeks, but the difference in the finished dish is real enough that I make the extra ten minutes a habit now.
Step 3: Layer the Crock the Right Way
Order matters inside the stoneware. Root vegetables like carrots, potatoes, and onions go on the bottom, closest to the heating element, because they actually take longer to soften than the meat does. I learned this after years of pulling out a perfectly tender roast sitting on top of carrots that were still stiff as pencils. Put the vegetables down first, in a rough single layer, not piled in a heap that traps steam unevenly.
The seared roast goes on top of the vegetables, and the deglazed pan liquid, along with any broth, goes in last, poured around the sides rather than straight over the meat. I keep liquid to about 1 to 1.5 cups for most roasts in the Crock-Pot 7-Quart Manual Slow Cooker. Unlike a pot on the stove, a slow cooker barely lets any moisture evaporate, and the meat releases its own juices as it cooks, so drowning it in broth just waters everything down.
The removable stoneware insert on this Crock-Pot makes this whole step easier than it sounds, since I can build the layers right at the counter, then set the insert into the base once it's loaded instead of trying to arrange everything inside a fixed unit balanced on the stove.
One more thing on loading it up, don't pack the crock past its fill line trying to squeeze in a bigger roast for a crowd. I tried it once for my grandson's graduation, stuffing in extra potatoes around a 6-pound roast, and the lid didn't seal flush anymore. The whole batch ran nearly an hour longer than it should have and the vegetables on top barely softened. If you're feeding a big group, cook two batches or size down the vegetables rather than overfilling the stoneware.
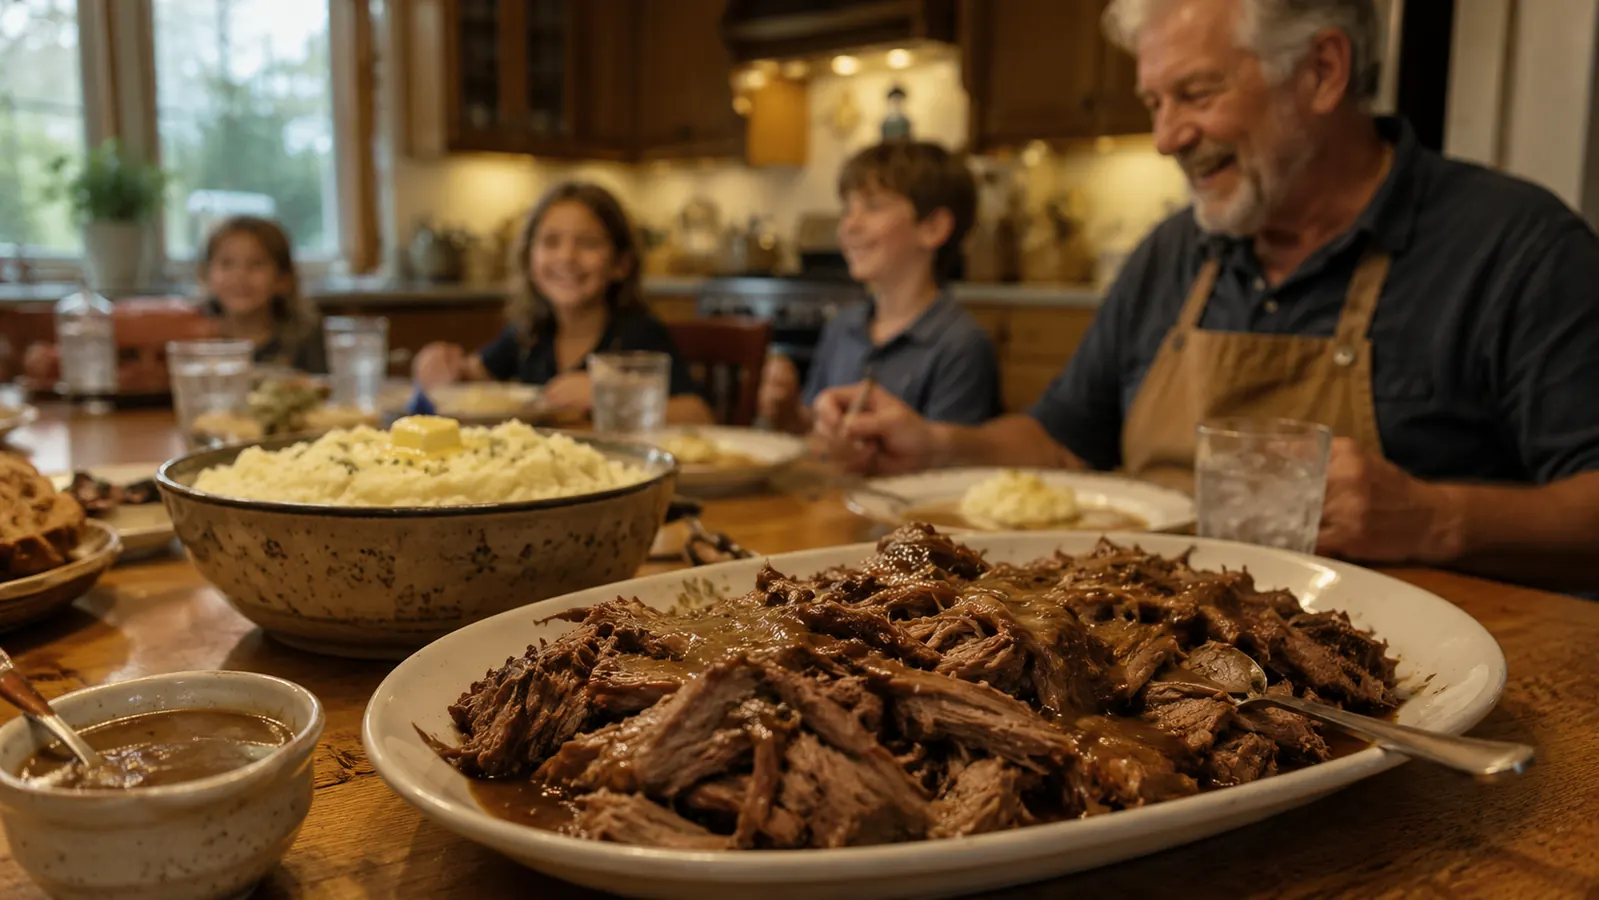
Step 4: Set It to Low, Not High, and Leave the Lid Alone
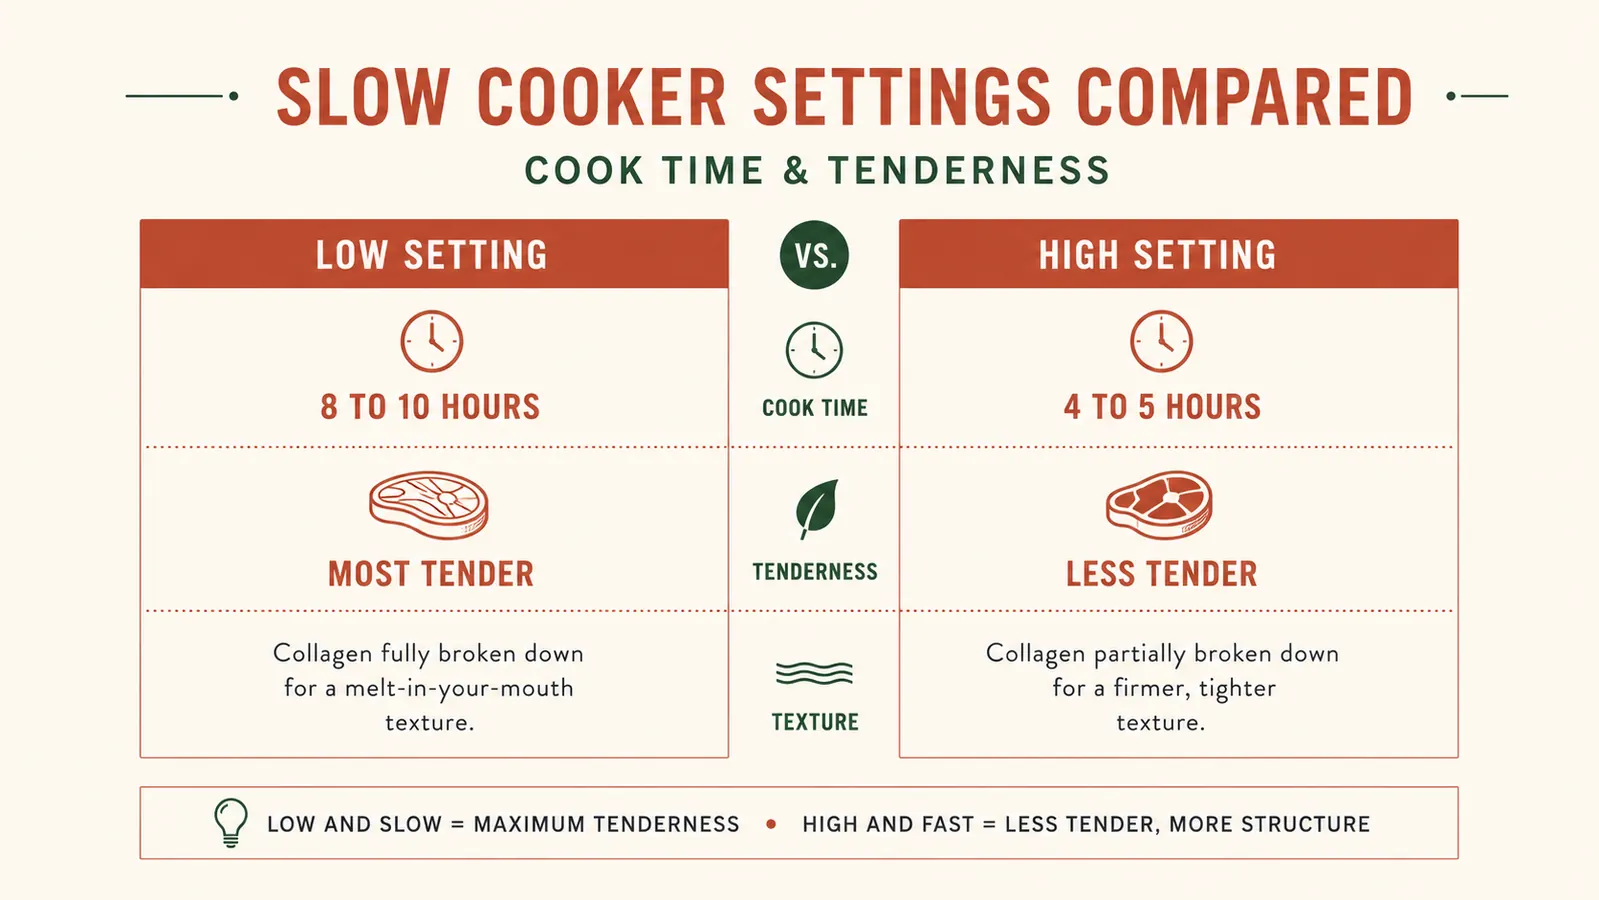
This is where most people rush and undo everything they did right in the first three steps. High heat on a slow cooker gets food to a safe temperature faster, but faster isn't what breaks down collagen properly. Low and slow, 8 to 10 hours for a 3 to 4 pound roast, gives that connective tissue the time it needs to melt into gelatin instead of just cooking through. High heat can get you edible meat in 4 to 5 hours, but it's rarely as tender, and I've found it dries out the outer layer of the roast while the center barely catches up.
The Crock-Pot 7-Quart Manual Slow Cooker keeps this simple with three settings on a manual dial, low, high, and warm, nothing digital to program or reset after a power blip. I set it to low before I leave the house in the morning and don't touch it again until the afternoon. That's the entire appeal of a manual unit like this one over a fancier programmable model, it does one job with nothing to go wrong.
Leave the lid on. Every time you lift it to check on things, you let out heat that takes 15 to 20 minutes to build back up, which adds real time to your cook and cools the whole pot unevenly. I know it's tempting to peek, I do it myself sometimes, but a slow cooker works because it holds a steady, undisturbed simmer, and every peek breaks that.
Start with meat that's fully thawed, not frozen or even partly frozen. A frozen roast dropped straight into the Crock-Pot 7-Quart Manual Slow Cooker sits in the food safety danger zone too long before it climbs to a safe temperature, and it also throws off every timing guideline in this guide. I pull a roast out of the freezer two full days ahead and let it thaw in the refrigerator, never on the counter, so it's cold but fully thawed by the time it hits the stoneware.
Step 5: Know When It's Actually Done, Then Rest It
Tender doneness for a chuck roast or pork shoulder is not the same target as a steak. You're not looking for 145 degrees. You want the internal temperature up around 195 to 205 degrees Fahrenheit, the range where collagen has fully converted to gelatin. Below that range, the meat can still look done on the outside but shred poorly and taste tough despite hours in the pot.
I check with a fork before I ever reach for a thermometer, just twisting gently against the grain. If it shreds apart with almost no resistance, it's ready. If it fights back even a little, it needs more time, not less, so I put the lid back on and give it another hour rather than pulling it early out of impatience.
Once it's done, let the roast rest for 10 to 15 minutes before shredding it, the same way you'd rest any big cut of meat. If dinner isn't quite ready when the roast is, the warm setting on the Crock-Pot 7-Quart Manual Slow Cooker holds everything at a safe temperature without pushing it past tender into mush, which has saved more than one Sunday dinner when Carol's errands ran long.
What Else Helps
A slow cooker doesn't reduce liquid the way a stovetop pot does, so the cooking liquid you're left with is usually thin, even after all that flavor has built up in it. I pour it off into a saucepan once the meat's out and simmer it down on the stove for 10 minutes, or whisk in a cornstarch slurry, to turn it into a real gravy instead of serving thin broth over a tender roast. That five extra minutes matters more than people expect.
Cut your vegetables to a uniform size before they go in the crock. Uneven chunks cook unevenly, and I've had potatoes that were mush next to carrots that were still crunchy from the same batch, all because I was sloppy with the knife that morning. And don't be afraid to lean on the warm setting for potlucks or big Sunday dinners where people aren't all eating at the same time. It's one of the reasons I've stuck with a manual Crock-Pot over a fussier programmable model, that dial does exactly what I tell it to and nothing more.
Shredded meat freezes better than you'd think. I portion leftover pot roast or pulled pork into freezer bags with a little of that reduced gravy, flatten them out, and lay them flat in the freezer. A bag like that thaws in a bowl of warm water in under 20 minutes for a weeknight when nobody feels like cooking. Between the Crock-Pot 7-Quart Manual Slow Cooker doing the actual work and a freezer stocked with pre-shredded meat, I've turned Tuesday dinner into something that takes ten minutes from start to plate more times than I can count.
A slow cooker doesn't tenderize meat by magic. It tenderizes meat by giving collagen enough time and steady enough heat to turn to gelatin. Get those two things right and the recipe almost doesn't matter.
Follow These Five Steps in the Cooker That Actually Holds a Steady Low
None of this works without a stoneware crock that holds even, dependable heat for eight straight hours. That's what the Crock-Pot 7-Quart Manual Slow Cooker has done in my kitchen every week since I bought it. Check today's price on Amazon before your next roast.
Amazon Check Today's Price on Amazon →