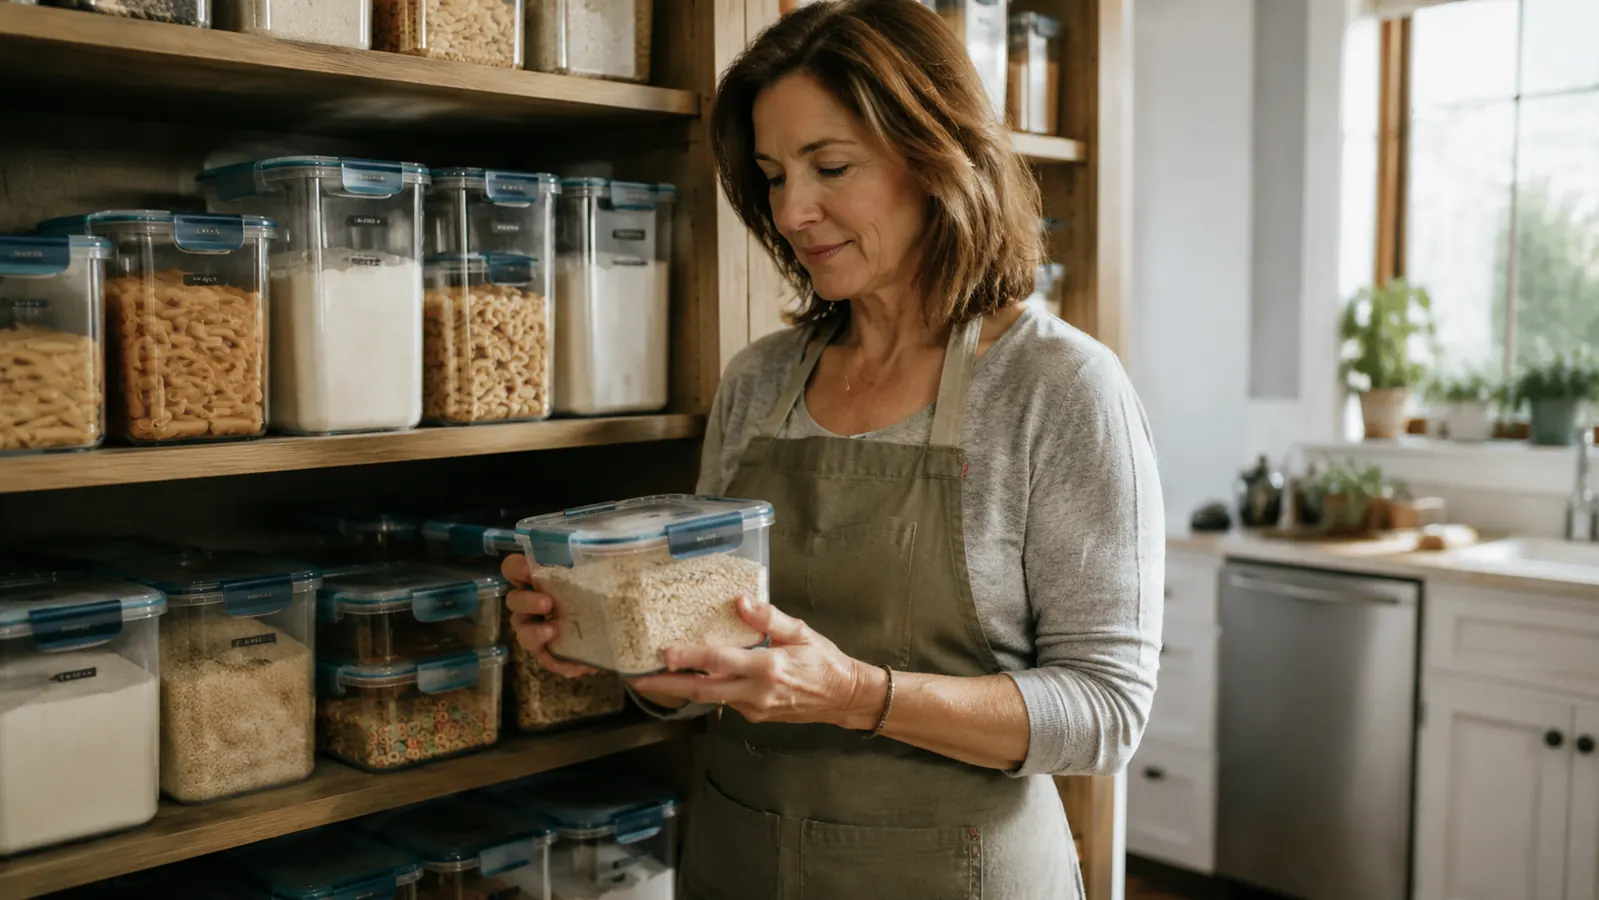
Every diner I ever worked had the same problem in the dry storage room, and it wasn't the food, it was the packaging. Torn bags of flour leaking onto the shelf below. Half-used boxes of rice nobody could tell were open until they tipped over. Pantry moths getting into cereal because a box flap wasn't folded right. I spent thirty years fixing that mess for a living, and then I came home and realized our own kitchen cabinet had the exact same problem, just on a smaller scale.
Last July I finally did something about it and bought the Rubbermaid Brilliance 44-Piece Food Storage Set, the same clear containers with the blue crisscross latching lids I now use for meal prep and leftovers. What I didn't expect was how much of that same set would end up living in our pantry instead of the fridge. Flour, sugar, rice, pasta, oats, cereal, dog treats, you name it, most of it now lives in a Rubbermaid Brilliance container instead of its original bag or box. Here's the five-step method I used to get there, and the same one I'd walk anybody through if they leaned on my counter and asked.
A Pantry Fix Only Works if the Containers Actually Seal and Stack
Everything below assumes you're working with a real matched set, not a mismatched pile of tubs. The Rubbermaid Brilliance 44-Piece Food Storage Set is what turned our pantry around, clear bodies so you can see what's inside, latching lids that keep bugs and air out, and pieces that stack square instead of tipping over.
Amazon Check Today's Price on Amazon →Step 1: Empty the Whole Pantry and Sort as You Go
You can't organize around clutter, you have to clear it out first. I know that sounds obvious, but most people try to organize a pantry shelf by shelf while everything is still crammed in, and they end up shuffling the same mess around instead of fixing it. I pulled every single item off our pantry shelves onto the kitchen table and counter on a Saturday morning, all of it, so I was looking at the whole problem at once instead of one shelf at a time.
As I pulled things out, I sorted into three piles right there on the table: keep, toss, and donate. Anything past its date, anything with a torn bag that had let moisture or bugs in, and anything we hadn't touched in over a year went in the toss pile. I found two bags of brown rice so old they'd gone rancid, and a box of pancake mix from before Maddie was even in kindergarten. That's the kind of thing a cluttered pantry hides from you. Once everything is out on the table in the open, it's a lot harder to talk yourself into keeping something you know you should toss.
Wipe the shelves down while they're empty. Ours had flour dust and a couple sticky rings from an old honey jar that had been sitting there for who knows how long. It takes ten minutes and it's the kind of thing you'll never do once the shelves are full again, so do it now while you've got a clear shot at every corner.
Step 2: Group by Category Before a Single Item Goes in a Container
This is the step people skip, and it's the reason so many pantry organizing projects fall apart within a month. Before I filled a single Rubbermaid Brilliance container, I grouped everything on the table by category, baking supplies together, grains and pasta together, cereal and breakfast items together, snacks together, canned goods off to the side since those stay in their cans. Grouping first means you fill containers with intention instead of just grabbing whatever's closest.
I learned this the hard way on my first attempt, years before we owned the Rubbermaid Brilliance set, when I just started dumping things into whatever tub was handy. I ended up with sugar and salt in identical containers with no way to tell them apart without opening both, and a whole shelf that looked organized but functioned exactly like the chaos it replaced. Grouping by category first means every container gets a clear, single job.
Once everything was grouped, I could actually see how many containers I needed for each category and roughly what size. Baking supplies alone, flour, sugar, brown sugar, powdered sugar, took four of the larger rectangular pieces from the Rubbermaid Brilliance set. Grains and pasta took another five or six in mixed sizes. Seeing the categories laid out like that is what let me plan the shelves properly in step five instead of guessing as I went.
Step 3: Match Container Size to the Food, Not the Other Way Around
The temptation is to grab whatever container is closest and force the food to fit it. Do the opposite. A five-pound bag of flour needs one of the larger rectangular pieces in the Rubbermaid Brilliance set, while a half-used bag of chocolate chips or a small bag of chia seeds is better off in one of the smaller square containers so it isn't rattling around in too much empty air, which actually lets moisture and staleness in faster than a properly sized container would.
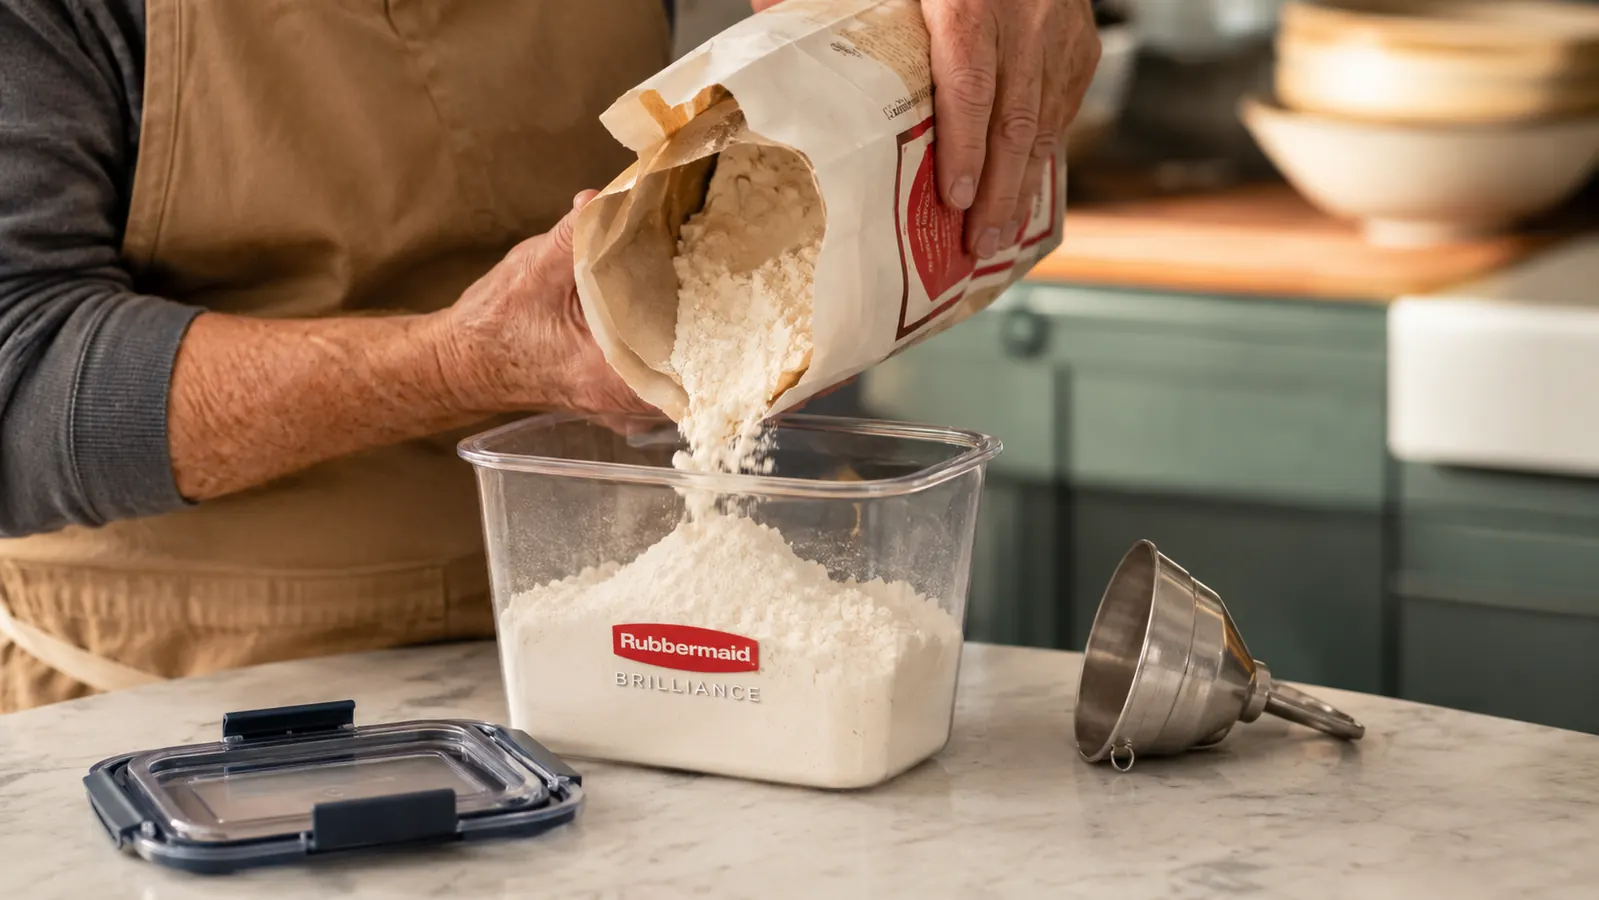
I use a funnel for anything fine, flour, sugar, cornmeal, and just pour straight from the open bag for anything chunkier like pasta or oats. It's messier than you'd think the first time, and I'd suggest doing this over a sink or with a towel down, because a torn corner of a flour bag will find a way to dust your counter no matter how careful you are. Once it's in the container and the crisscross lid is latched down, that mess is behind you for good, no more torn bags leaking a little every time you reach for what you need.
One thing I'd tell anyone starting this project, don't try to cram two different foods into one container just because you're running low on pieces. I made that mistake early on, mixing regular oats and quick oats into one Rubbermaid Brilliance container to save a piece, and spent the next two months annoyed every time I needed the right kind and had to dig through both. The 44-piece set gives you enough range in sizes that you shouldn't need to double up, but if you do run short, it's worth buying one more container rather than compromising the whole system over a single shelf.
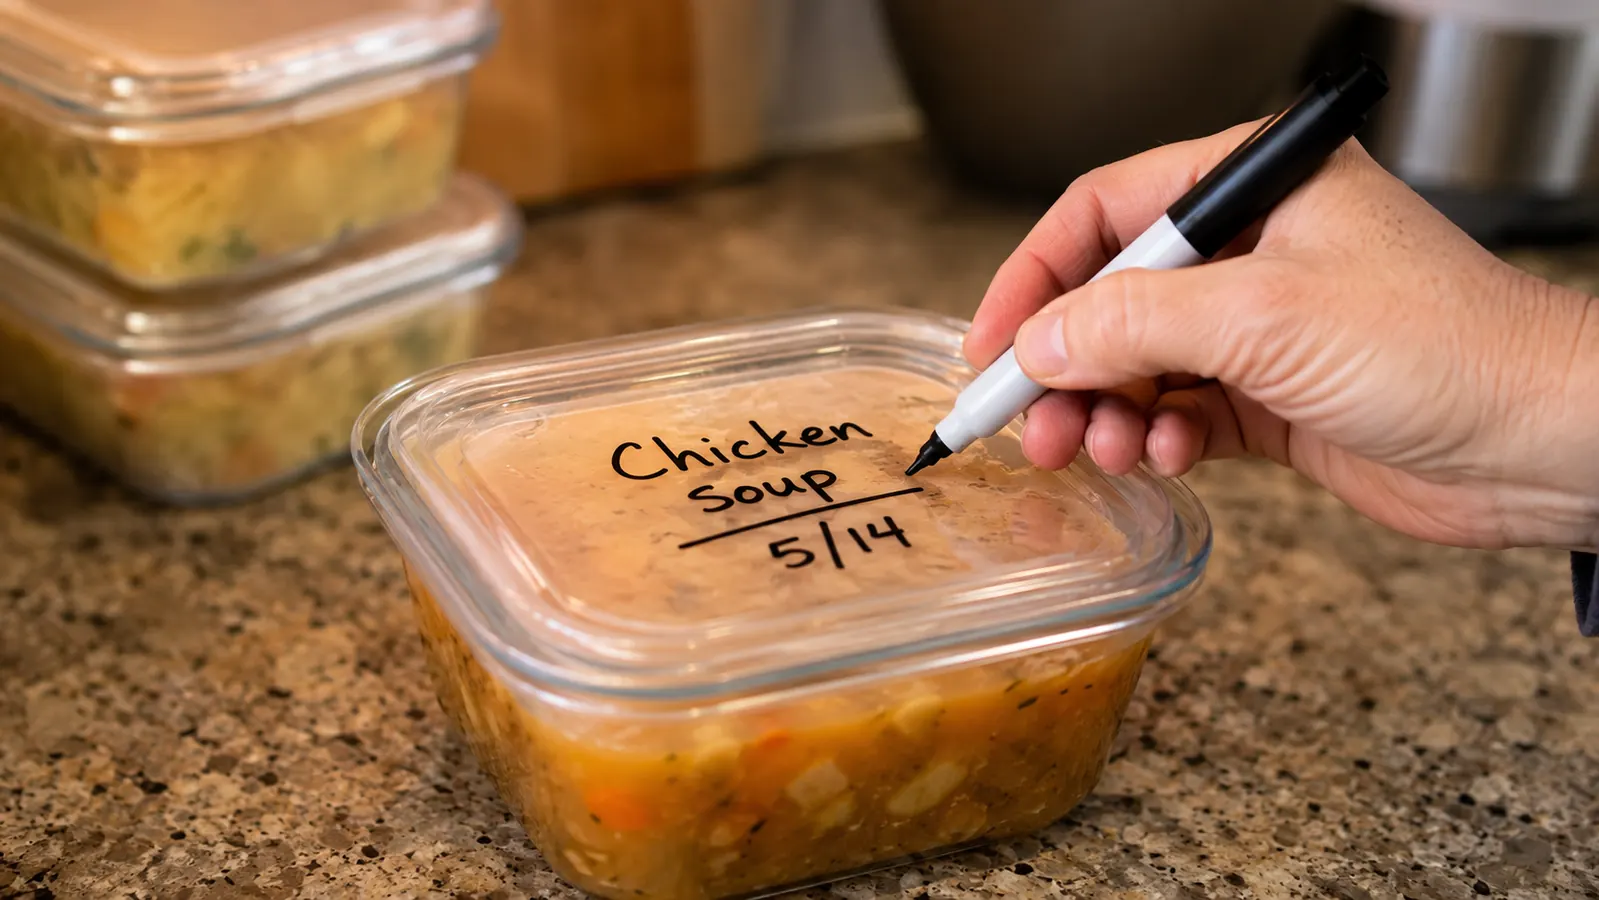
Step 4: Label and Date Every Container Before It Goes on the Shelf
Clear containers solve the mystery-tub problem, but flour and sugar look almost identical through clear plastic, and rice and quinoa aren't much easier to tell apart at a glance either. Carol started labeling every Rubbermaid Brilliance lid with a dry-erase marker the same week we set the pantry up, name of the contents and the date it was filled, and it's become the habit that actually keeps this whole system working a year later instead of sliding back into guesswork.
The dry-erase marker wipes clean off the Rubbermaid Brilliance lids without leaving a ghost mark behind, which matters more than it sounds like it should. We tried a couple cheaper storage brands over the years where the marker either wouldn't wipe off clean or wouldn't write on the lid at all without a special pen, and both of those failures are enough to make anyone give up on labeling within a month. A lid that takes and releases marker easily is the difference between a habit that sticks and one that quietly dies.
Dating matters just as much as naming. When you refill a container of flour or rice, you're not always starting from a truly fresh bag, sometimes you're topping off what's left with a new bag on top of old. Writing the date you refilled it means you're never guessing how long something's actually been sitting on the shelf. It's the same discipline restaurants use for food rotation, and it works exactly the same way in a home pantry, just at a slower pace.
Step 5: Arrange the Shelf by How Often You Reach for It
Once every container is filled and labeled, don't just set them on the shelf in whatever order they come off the counter. Put what you use daily or several times a week at eye level and within easy reach, that's flour, sugar, pasta, and cereal in our house. Things you reach for less often, specialty baking supplies, dried beans we cook maybe once a month, go on the higher or lower shelves that take more effort to get to.
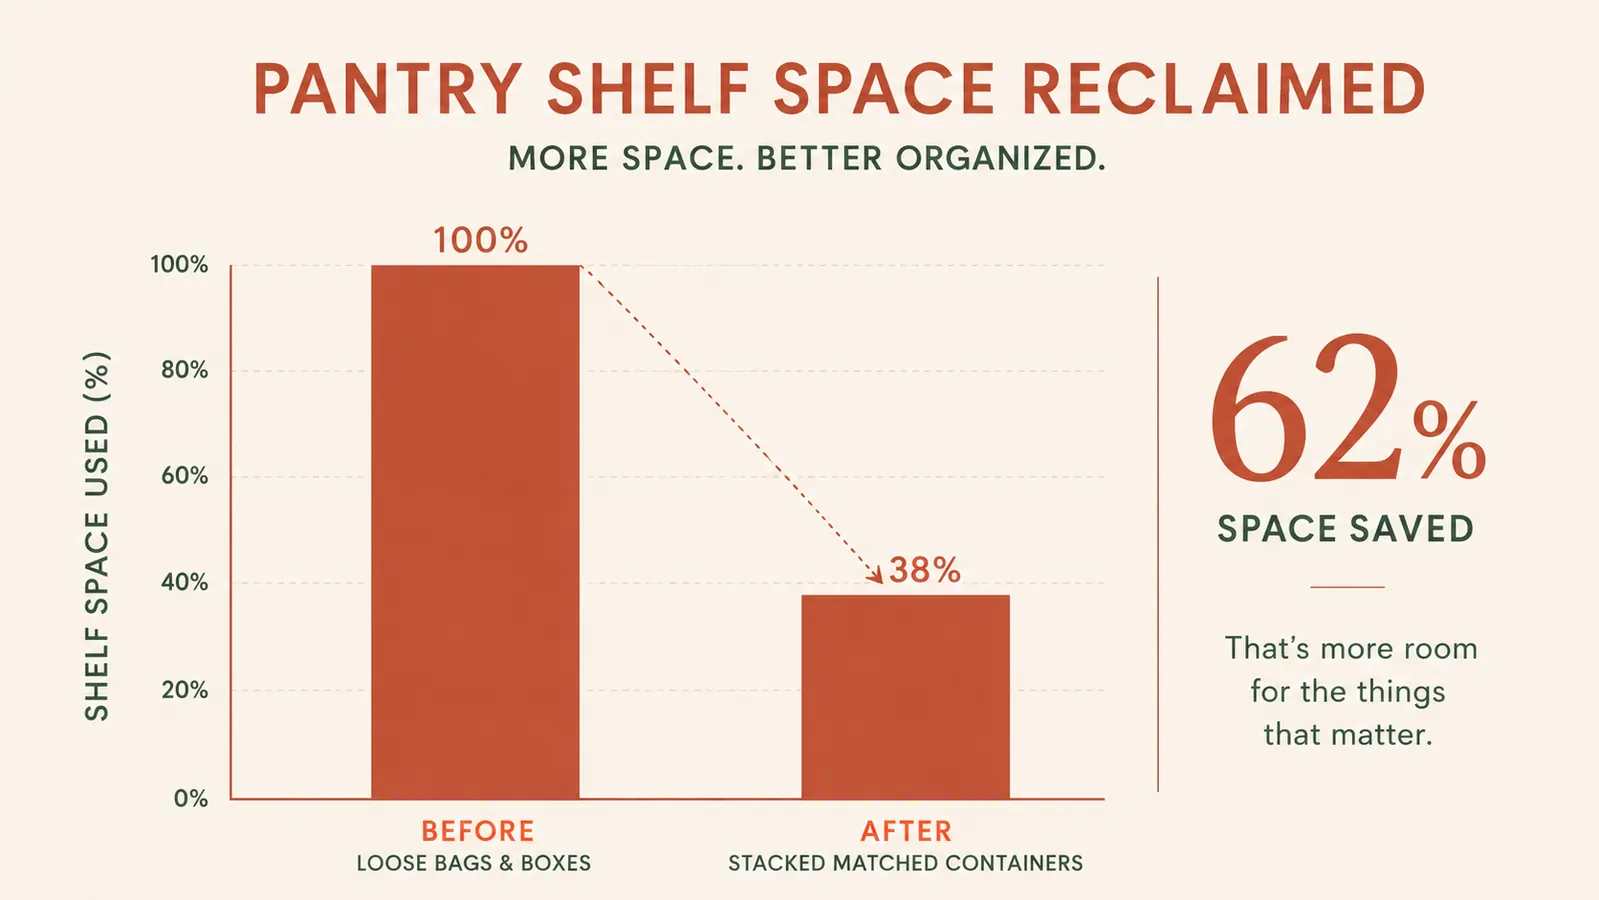
The Rubbermaid Brilliance containers stack square on top of each other when they're the same size, which is what let me build actual towers on our pantry shelves instead of a single spread-out row that ate up every bit of horizontal space we had. I've got two containers of pasta stacked directly on top of each other on the middle shelf, and that stacking alone freed up enough room to fit a whole extra category of items that used to overflow onto the counter.
Practice first in, first out the same way a kitchen does. When you refill a container, don't just dump the new bag on top of what's left. Pour the old stuff out first, add the new on top of it, then put the old back on top again so it gets used before the fresher stuff underneath. It sounds fussy for a home pantry, but it's the exact habit that keeps flour from going stale in the back of a container nobody's scraped to the bottom of in months, and it took Carol and me about two refills to make it automatic.
What Else Helps
A funnel earns its spot in the pantry drawer once you start decanting bags into containers regularly. I keep a cheap plastic one right next to the Rubbermaid Brilliance stack so I'm never digging through a drawer with flour on my hands trying to find it. It turns a messy five-minute job into a clean ninety-second one.
Keep the original packaging, or at least the cooking instructions and nutrition panel, until the container's used up. I cut the instructions off the back of pasta boxes and rice bags and tape them to the inside of our pantry door on a running sheet, because once that box is gone, the instructions go with it, and I'd rather not guess cook times for a grain I only use twice a year. It's a small habit that saves real frustration down the road.
If bugs have ever gotten into your pantry, and most kitchens deal with it eventually, an airtight seal is your first real line of defense, but it's not a total guarantee on its own. I still do a quick visual check of dry goods every few months, especially anything that sat in its original bag for a while before I moved it into a container. Once everything's transferred over to the Rubbermaid Brilliance set, though, that check takes about ninety seconds instead of the half hour it used to take digging through torn bags and boxes looking for trouble.
A pantry doesn't get organized by buying containers. It gets organized by emptying it out, grouping what you own, and giving every single item a labeled home it actually fits in. The containers just make that home hold.
Give Every Bag and Box in Your Pantry a Real Home
This whole method only works with containers that seal tight, stack square, and let you see what's inside. That's the Rubbermaid Brilliance 44-Piece Food Storage Set, the same set that's been on our pantry shelves and in our fridge since last July. Check today's price on Amazon before your next grocery haul.
Amazon Check Today's Price on Amazon →